Every bride wants to look perfect for her special day. For
some women, that means soft pastels, French manicures, and a warm glow. Some
ladies, however, prefer an alternative approach that, while unconventional, is
no less beautiful.
When my friend, Jeaneth, approached me on doing the make-up
for her wedding day, I was thrilled for the opportunity to help the bride
realize her vision. She was going for an edgy, colorful look with a touch of
goth. The following is a recreation of the look created for her on my own face
(we tried to take pictures for this on the actual day, but turns out these
wedding things are hectic, yeah?) but don’t forget to check out the pictures of
the bride in action at the end.
Tools for face:
Urban Decay Naked Skin Foundation in 3.5
Estee Lauder loose powder
Concealer
Maybelline Dream Bouncy Blush in Peach Satin

Tools for eyes:
Inglot Duraline
Nars Eye Shadow Primer
Angled brush, shadow brush, and blender brush
Yves Saint Laurent Eye Pencil in Velvet Black
Physician’s Formula Eye Booster 2-in-1 Lash Boosting
Eyeliner and Serum
Ulta mascara
NYX Single eye shadow in Cherry
NYX Eye shadow trio in Cherry/Cool Blue/Hot Pink
LA Splash Diamond Dust Eye Shadow in Tampered

Tools for lips:
MAC Lip Stick in Show Orchid
MAC Lip Stick in Black Knight
Lip Brush

Part 1: Face
Step 1-
You’ll want to look flawless so go ahead and apply a matte,
HD foundation and use your concealer on any blemishes or under eye circles as
necessary.

Step 2-
Apply your blush. I like the Dream Bouncy line because of
its unique texture that leaves your skin with a soft glow without being
overpowering. You apply this brand with your fingers and tap the color in.


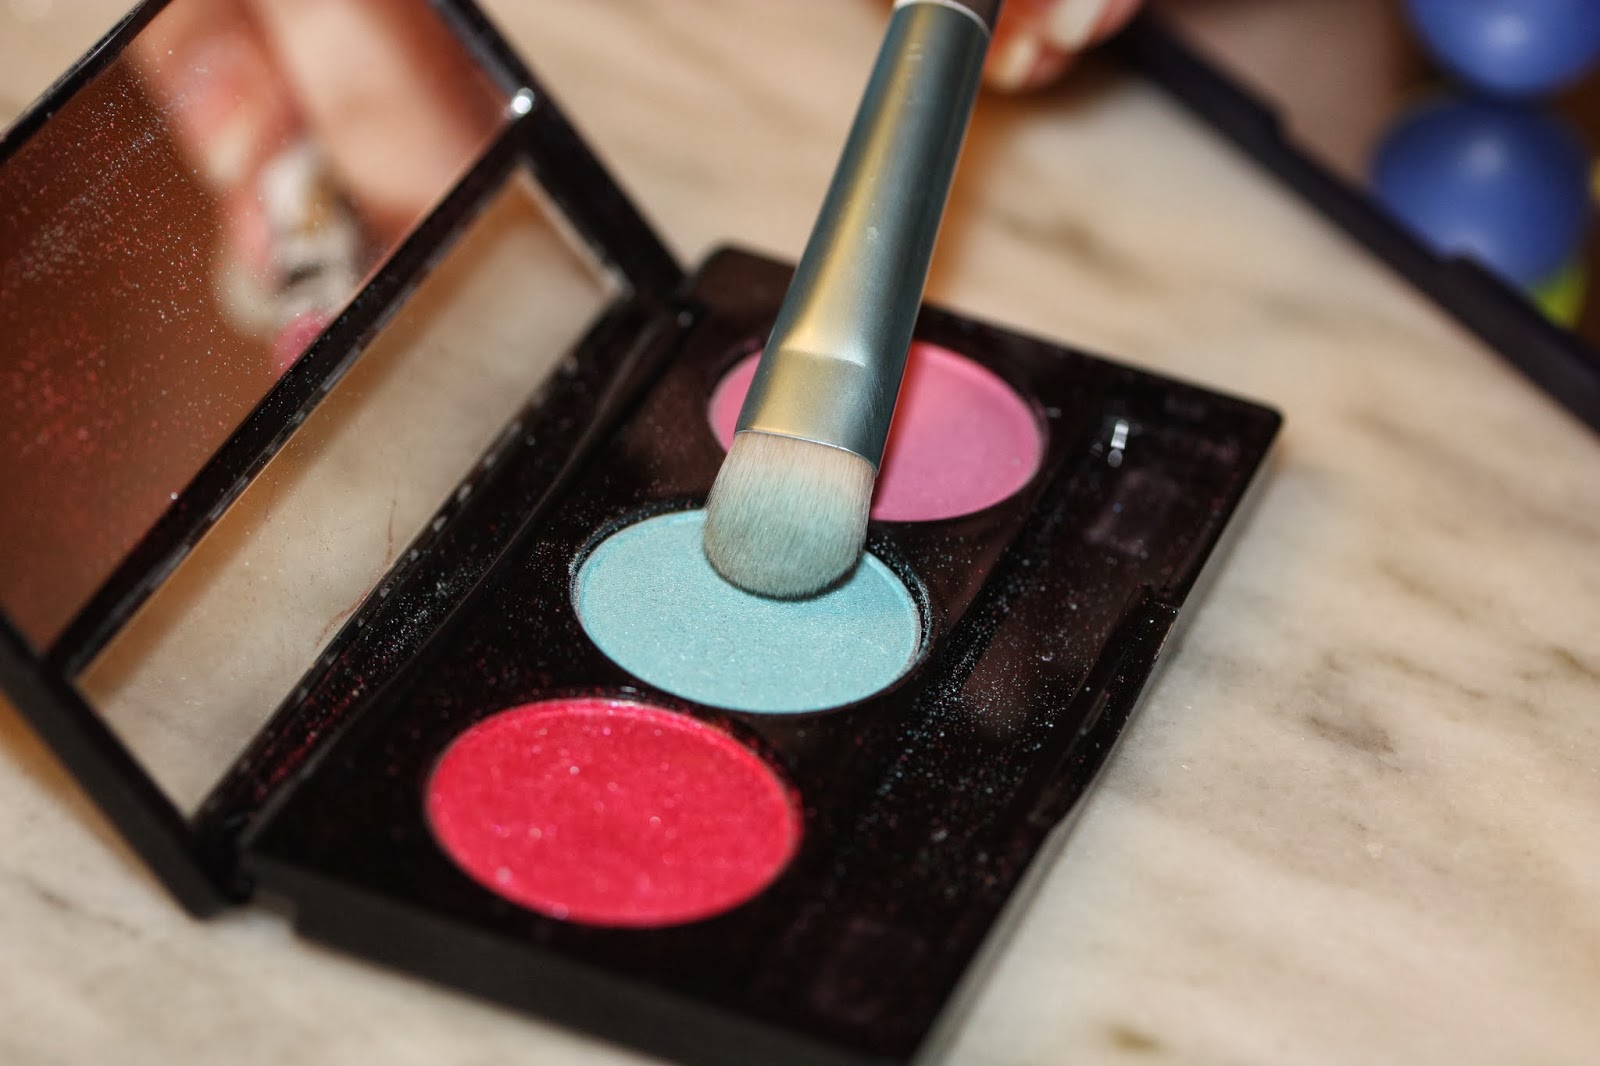
Part 2: Eyes
Step 1-
Use your shadow primer on your lids and apply a coat of
light blue.


Step 2-
Use a vibrant red shadow with your blending brush and apply
it on your crease, reaching up to your brow.


Step 3-
Use Duraline (a mixing medium that allows you to turn loose
powders into a gel liner) by dabbing some onto a mixing palette if you have one
or the back of your hand.

Step 4-
Mix some of your loose, red shadow into the Duraline until
its consistency allows you to paint it on with an angled brush like a liner.


Step 5-
Apply the red liner starting from half-way through your lid,
forming a wing line that extends to the corner of your eyebrows. Thicken the
line.


Step 6-
When you feel the liner dry, use a black, felt tip liner to
carefully create a line against the red. Bring it across your entire lid.


Step 7-
With the same liner, add two extra lines under your red and
black one, in decreasing length. Keep these looking curved and playful.


Step 8-
With the felt tip liner, line your bottom lid.

Step 9-
Form two little dots in between the three lines (a total of
four dots on each side.)


Step 10-
Use your felt tip liner to draw in three little “lashes” to
the outer corner of your bottom lid.


Step 11-
Paint a stripe right above your crease. Take care that it is
far away enough that it doesn’t smear when your eyes are open.

Step 12-
Add a little, curved branch to the stripe.


Step 13-
At the corner of each eye, make a little star by first
creating a triangle with elongated bottom corners, then filling it in. Finish
the star by drawing a stripe through the triangle.


Step 14-
Fill in your waterline with pencil liner and apply mascara.


Part 3: Lips
Step 1-
Apply your bright magenta lipstick.

Step 2-
With a lip brush, dab some of the black lipstick on,
blending it with the magenta until you have a unique shade.


Your look is finally complete!


So how did our bride fare on her special day? See for
yourself!


 |
| Wishing you both the best! |

No comments:
Post a Comment