Never, in my entire history as a make-up aficionado, have
I ever felt that a look is complete without eyeliner. In fact, above all other
beauty products, if I only had time to quickly apply one, I would choose liner.
However, it’s not always easy to apply, especially in
black, which only requires a tiny smudge to become totally, unforgiving-ly
sloppy. The great thing about these looks is that you can wear them on their
own or with eyeshadow. If you do wear them without shadow, I do recommend applying
a heavily pigmented concealer. Having smooth, even skin will help the liner stand
out, not to mention it’ll take care of any mistakes. Another technique I like
employing is the use of different eyeliner mediums in one look. While some
types (felt tip pen, pencil, angled brushes) are better used for making thin
strokes, other types (gel, cream, concealer brushes) make filling in a space
easier. Here are some of my favorite tools for creating the looks in this post:

On to the styles!
Look# 1:
Waterline eyeliner
Now,
pretty much everyone and their grandmothers knows that the easiest way to use
pencil liner is to use it on your lower waterline. It’s a classic, simple way
to wear it, but not necessarily the most exciting.

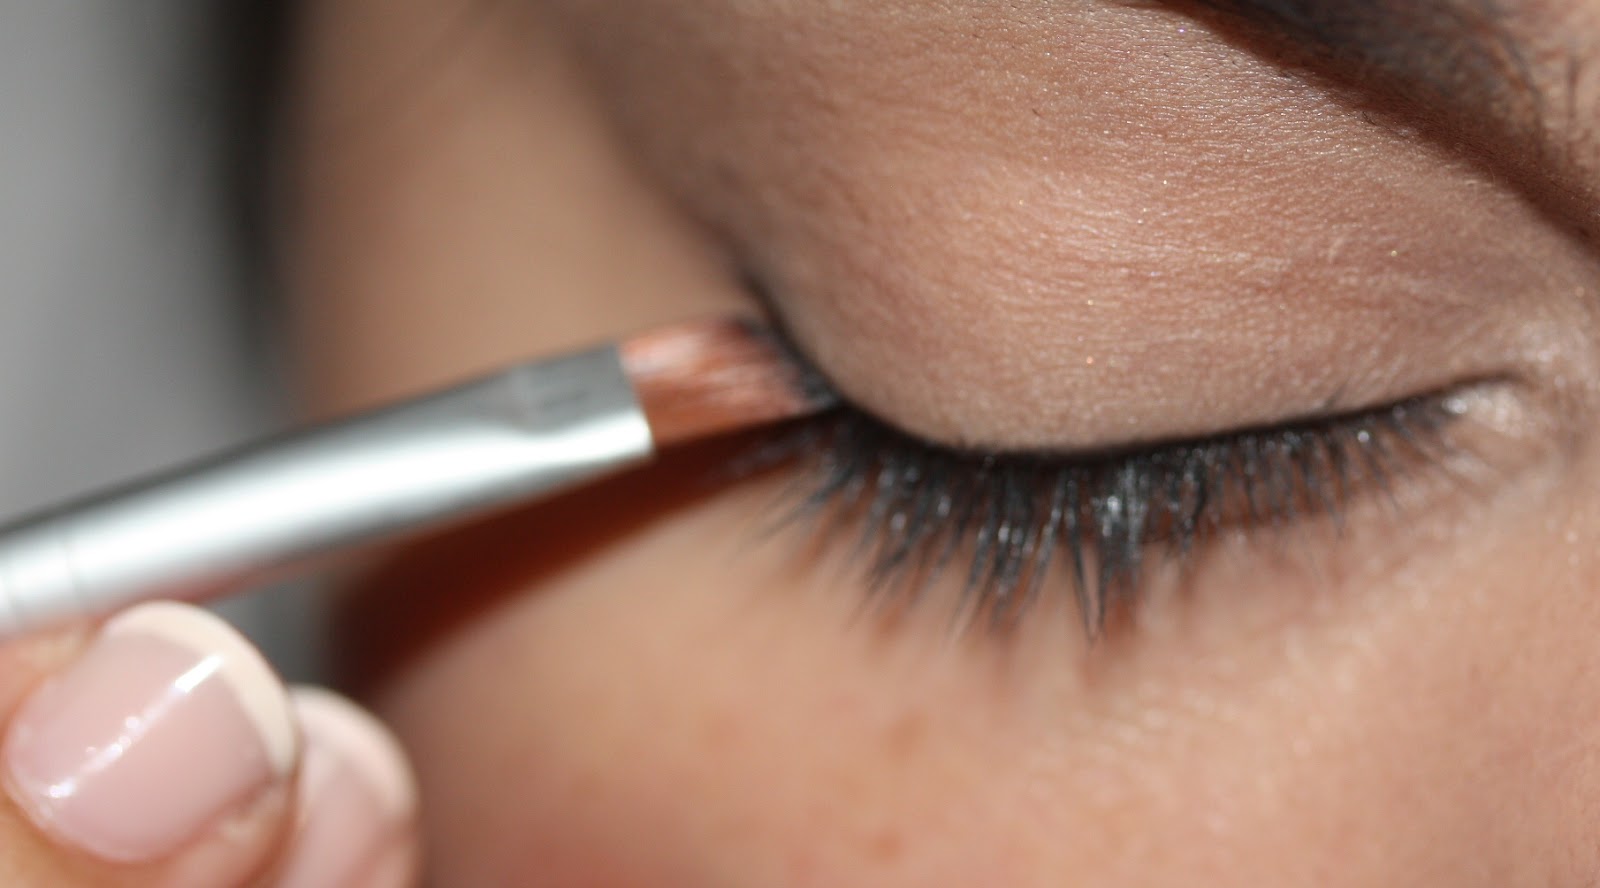
However, using the same pencil liner on the upper
waterline, will add to the look’s depth, making your eyes appear more alluring.
Some of you might be a little weirded out by this, but the trick is to use
small, gentle strokes, letting this part of your eye get used to being touched.
The final result is classic a classic black waterline with a little extra
oomph.

Note: I also use this as a starting point in all of the
following eyeliner looks.
Look# 2:
Upper line sweep
This look is good for ladies that want to draw focus away
from their bottom lids. The length of the sweep can be altered to make it more
or less dramatic. The use of both felt tip pen and gel liners makes it a nearly
foolproof experience that’s hard to mess up. Make sure that you use a sharp, angled
brush for the gel liner. Don’t forget to use an eye pencil on those waterlines!
Step 1-
Use a cream or gel liner to carefully do your top lash line.


Step 2-
Now, instead of risking smudges, use a felt tip pen liner
to make a little tapered line with an upward sweep.

Look#3:
Cat-eye liner
Next is the tried and true cat-eye liner. What
differentiates this one from the above look is that instead of having the sweep
be a continuation of the top line, we will be lining the eye all around and
adding a slightly curvier sweep at the corners (mimicking the shape of a cat’s
eyes.)
Step 1-
Use the gel liner and angled brush to line the top, then
bottom lids.

Step 2-
I prefer making the sweep as an extension of the bottom
line. As you want to keep it soft, go ahead and continue using the gel liner
and angled brush.


Look# 4:
Round eye
This look is simple, yet elegant. A felt tip liner works
best, as it’ll give our lines very precise edges. Using a gel or pencil liner
could make this look smudgy, giving it a messy appearance.


Look# 5:
Cleopatra Liner
Use this look to draw everyone’s attention to you! Great
by itself or with eyeshadow, this look is guaranteed to get you noticed.
Step 1-
Use a felt tip liner on your top and bottom lash lines.
Extend the top line to the corner at the edge of your crease, but keep it very
straight.


Step 2-
Use a gel liner and angled brush to pull the line back in
to your crease. Watch out for smudging!


Step 3-
Bring it close to the inner corner of your eye.

Step 4-
With a small concealer brush, connect the bottom line to
the top through the corner of your eye. This works best with light, precise
dabs, than with strokes.

Step 5-
You can apply shadow in the space you created or leave it
bare. Make sure to let the liner thoroughly dry or use a make-up setting spray
to prevent smudges!

Look# 6:
Double liner
Another whimsical little trick for getting noticed! This
one is dramatic, yet still wearable for daytime, depending on how long you
extend the lines.
Step 1-
Use the felt tip liner around the top and bottom lids.
Make sure you don’t quite connect them at the outer corners.

Step 2-
Using the same liner pen, extend each line, keeping both
very straight. Because of the shape of my eyes, I prefer making the top one a
little bit longer, but you can experiment and see which lengths suit you best.


Look# 7:
Wing Lines
This look is pretty similar to the one above, the main
difference being that rather than stemming from two separate sections, the
outer lines are united.
Step 1-
Use gel liner on your top and bottom lids. Give the top
lid an upward curving extension.

Step 2-
With the pen liner, draw the extension back down, forming
a triangular shape. From the base of it form another, smaller sweep.

Step 3-
Use the gel liner and concealer brush to fill in the gaps
and you’re done!

Look# 8:
Butterfly Lines
This look is quirky and fun for a night out!
Step 1-
Follow the same steps as the cat-eye liner above, making
the extended line very small.

Step 2-
Use the felt tip liner to make another, longer line under
the first.

Step 3-
Finish the look off by making an even longer line under
that one. Who needs fake lashes with these?!


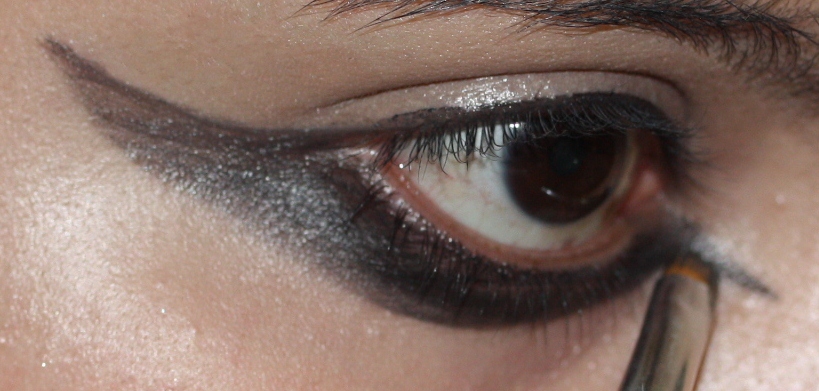
Look# 9:
High Drama Under-Liner
(Note: Please excuse the redness of my eyes, they were getting very irritated at this point. I will NEVER recommend attempting ten eyeliner looks in one night.) Not a look for the faint of heart! This look is great for
when your look calls for a little bit more “goth.”
Step 1-
Use the felt tip liner to make a very thin line over the
top lid.

Step 2-
Draw the outline of the shape. Don’t be afraid to go
crazy with it, but follow the contour of your eyes.

Step 3-
Use a brush and
gel liner to fill in the space. Nice and spooky, no?

Look# 10:
Thick Wing Tip
This is another very wild look that I wouldn’t wear
unless I was planning on partying pretty seriously. Dusting some setting powder
over these filled in looks can help keep them from smearing.
Step 1-
Use the felt tip liner to draw the desired shape. You
want to create a pointy tip that looks just like the first look we did, but
much thicker. Be careful not to smudge your crease like I did!


Step 2-
Fill in the empty space with gel liner.

Step 3-
Conceal all and any mistakes! Or better yet, throw some colorful eyeshadow on your lids! Enjoy!


No comments:
Post a Comment