Showing posts with label neutral. Show all posts

Sunday, November 17, 2013

Xena Warrior Princess Make-Up

Since viewing my first episode of Xena, I totally fell in love with her butt-kicking, sarcastic ways. However, it didn’t click until much later that unlike real women sparring night and day, Xena always managed to look flawless, even in the middle of a fierce battle. In honor of warrior princesses everywhere, I’m going to provide a tutorial to mimic her awesome look. While this make-up may not hold up in, say, a sword fight surrounded by fire… it’ll certainly be at home at your next cosplay event.

Part 1- Face
Xena’s face was always perfectly smooth (no scarring at all, fancy that.) You’ll want to look matte and velvety for this look.

Tools:

Urban Decay Naked Skin Weightless Ultra Definition Liquid Makeup in 3.5
Benefit Benetint
bareMinerals Original Foundation Broad Spectrum SPF 15 in Medium Beige (Used here as a bronzer.)
Laura Mercier Translucent Loose Setting Powder
The Body Shop Brush-On Radiance

Step 1:

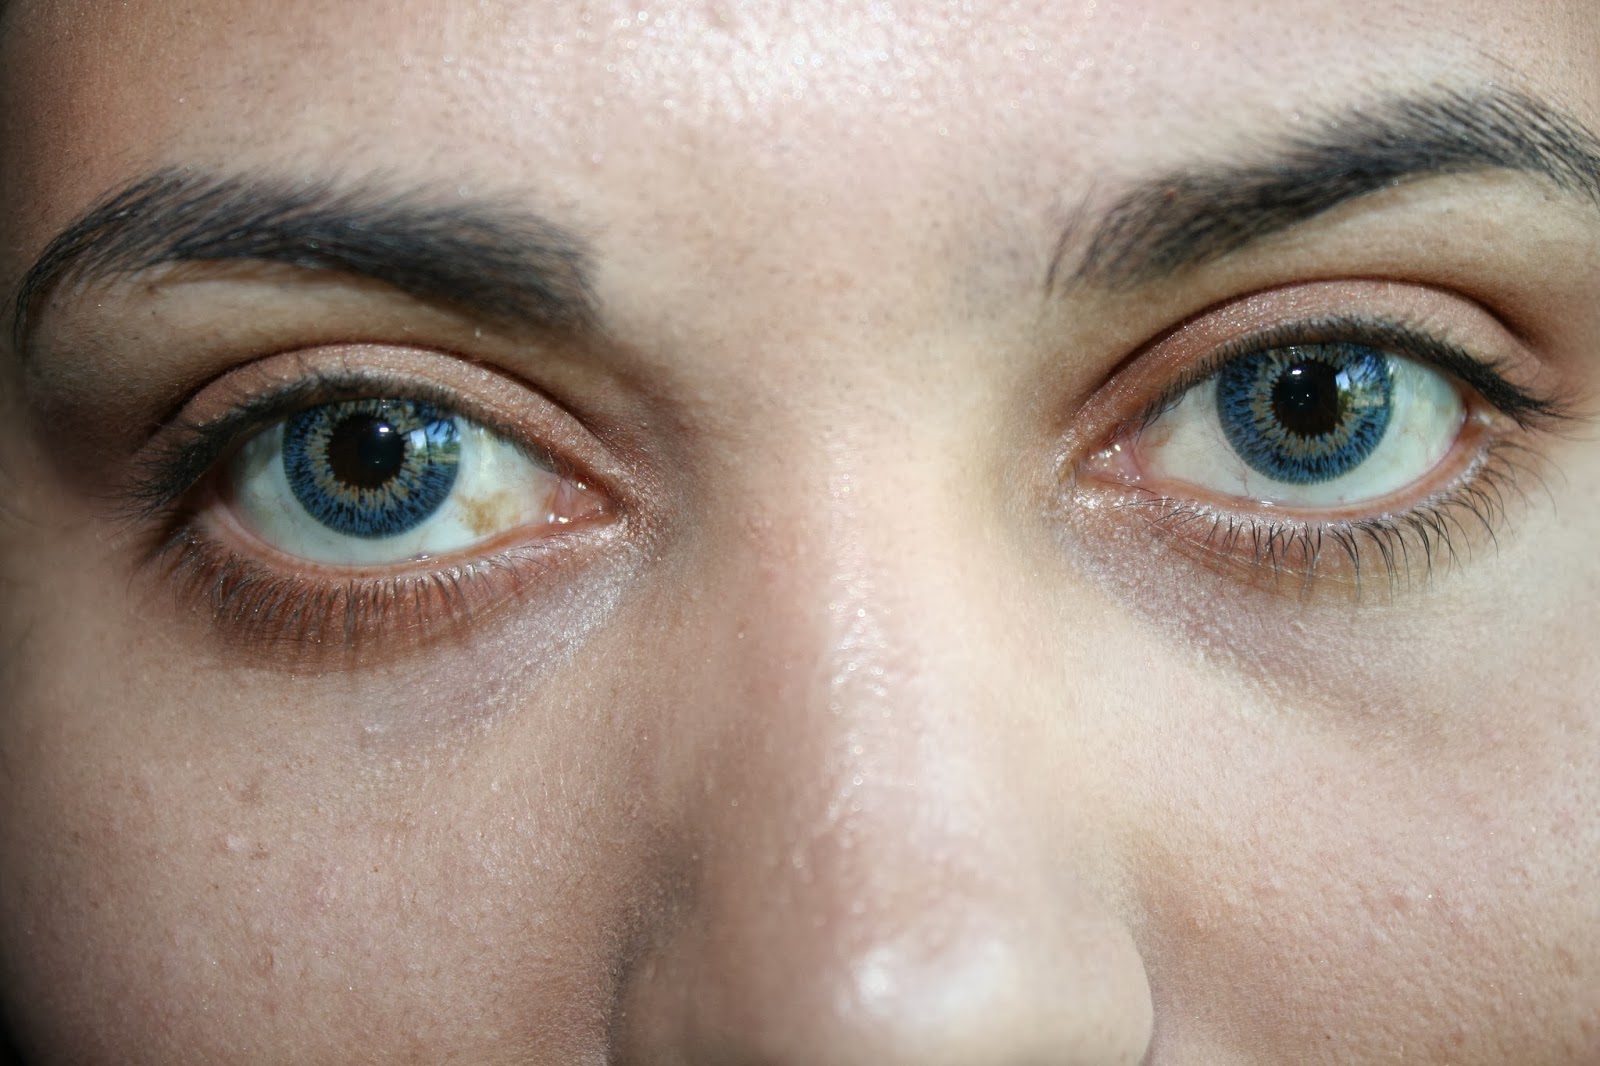
Ok, so this is technically eyes, not face, but to get Xena’s piercing blue stare, I’m wearing my new blue contacts. Skip this, of course, if you already have lovely blue eyes.

Step 2:    
Apply foundation to your face. Make sure it is even all around and since we already know that Xena has no imperfections on her face, be sure to use a concealer if you need to.

Step 3:

Apply your powder. I like this one from Laura Mercier because it’s very mattifying without being cakey.

Step 4:

This bareMinerals powder used to be my foundation when I was all about tanning. As it is now too dark for me, I use it as a bronzer/shadow contour.  Be sure that whatever you use it doesn’t have a shimmery finish. Xena has very defined cheek bones. To make yours stand out more, smile a bit and apply the bronzer in a C-shape around your cheeks.


Step 5:

Apply bronzer at your temples to mimic her face shape further.


Step 6:

You’ll want a natural flush for this look. Swipe some Benetint over the line created by your contouring. Quickly spread it by dabbing it with your finger before it dries.


Step 7:

This highlighter works for this look since it isn’t as overbearing as others. Swipe it down your nose, across your forehead, and dust it over the apples of your cheeks. Now we move onto the next phase!


Part 2: Eyes
Tools:
Urban Decay Naked Palette
Urban Decay Double Ended 24/7 Glide-On Eye Pencil
YSL Mascara Volume Effet Faux Cils in Rich Black
Xena’s power came from her gaze. Her eye make-up was tastefully applied and never overdone (unless a disguise was necessary) so we’ll be using neutral earth tones. Some of these will have a hint of shimmer to catch the light and brighten up your eyes.

Step 1:

Apply a light brown to your lids. If you’re using the naked palette use the Naked shade.
Step 2:

Use a deeper reddish brown (Buck on the palette) and do a small, upward sweep on the outer corner of your eyes.

Step 3:

Use a burnt, shimmery color (Toasted) on your crease.


Step 4:

With a pale gold, highlight the uppermost area of your brow bone.


Step 5:

Black liner would be too harsh here, so line your lower lines and water lines with a brown pencil.
Step 6:

Apply a mascara that thickens your lashes. We are nearly done!

Part 3: Lips
Tools:
YSL Rouge Volupte in Ultimate Beige.
Step 1:

You’ll want to select a nude/skin toned lipstick that is just half a shade deeper/pinker than your natural color. Err on the side of caution if the color appears too peachy or pink. Your make-up is now done!

Part 4: (Bonus) Hair
Tools:

Clip-in bangs
Braid headband
Now you may choose to wear a wig to save yourself the hassle or just wear your normal hair down. I personally am going to combine my actual hair with extensions to give me the ideal style.

Step 1:
(I did this part before I started my make-up, so there was no picture.) Flat iron your hair, but don’t obsess over making it perfect. You’re a warrior, after all!

Step 2:  

 Brush the hair at your temples and the top of your forehead back.

Step 3:

Clip your bangs on. Make sure they are not too high up, but don’t obscure your vision. If you’ve never done this before it may take a little practice.
Step 4:

Carefully slip your braided headband over your bangs and use it to hide the extension clips in your hair. If you’re using an elastic band, make sure that neither your hair, nor parts of the band are stuck behind it.


You are done! Go forth with her infamous battle cry and wield that chakram proudly! 

Saturday, November 16, 2013

Urban Decay Naked Palette 1 and 2

I’m a gal who likes her colorful eye shadows. I love the vibrancy, I love to create a make-up look to go with different outfits or if I’m decked in all black (the majority of my wardrobe) the colors can add some much needed variety.

However, colorful make-up isn’t always appropriate. The problem is that it’s so easy for neutrals to come across as boring or lackluster. That’s why I’m always so excited when I am able to find palettes like these two from Urban Decay. 


You have a wide range of shades (browns, beiges/gold, blacks/grays) and they’re both incredible. The colors complement each other well (and will work for either warm or cool complexions,) leaving you with endless possibilities. The only thing one might have trouble with is that while there are a few matte shades included, most of these will be metallic/shimmery. You might have trouble if those just aren’t your thing. My personal favorite shades are Half-Baked (included in both kits,) Chopper, YDK, Buck, and Gunmetal. 
Swatches of original Naked Palette

Swatches of #2


Both kits also come with a handy little eye brush. Number two's brush is also double sided, with one end for blending. Awesome for application on the go!

So while I can continue buying my colorful shadows in single shades (or custom palettes!) I’m pretty much set when it comes to my neutrals, thanks to the two Naked Palettes.


Final Verdict: Love it!

Sunday, August 26, 2012

Five Easy Neutral Eye Shadow Looks


I’m sure by now it’s no secret that I love using loud, flamboyant colors in very dramatic ways. However, these looks aren’t always appropriate and sometimes a little subtle, neutral shading can make a much stronger impact and better impression than something bright. The key to keeping the looks from being blah or boring is to use rich shadows that flatter the color of your eyes and lots of shading. For ladies who have never worked much with neutrals before, my recommendation is to pick up a varied palette that contains several shades. The one I'll be using for this tutorial is by NYX and is extremely versatile, as you'll soon see.


 These following looks are as easy and simple to do as they are lovely. They’ll be perfectly wearable for work, school, or any other time when you want to look polished and chic, but not overdone.

Prep:

Start off with a smooth, even canvas. You don’t want any blemishes or flaws drawing attention away from your pretty eyes, so use a high quality foundation. For these looks, an eye make-up base isn't necessary but employing one wouldn't hurt. 

Look#1:
Step 1-
Use a shimmery sepia tone and apply it on your lid, extending it to your brow bone.


Step 2-

Take a shimmery chestnut brown and work it into the crease. You’ll want to make sure that it doesn’t reach the brow bone, so that the sepia can peek out. Follow this by drawing the color to just about half way under your lower lid. 


Step 3-

Line your waterline with black and apply black mascara. The final result is elegant, yet tasteful, perfect for any professional setting. 


Look#2:
Step 1-

Use a fawn color on your lids. Fade the color upwards, so that it doesn’t actually reach your brow.

Step 2-

Using a taupe shadow and a fluffy blending brush, apply it to the outer corner of your eye, blending inwards. 

Step 3-

Line your eyes with a light peachy liner, not black, to keep the final look soft and romantic. Don’t forget mascara!


Look#3:
Step 1-

Dust a shimmery latte over your lids. 

Step 2-

Taking a pale gold or champagne color, use a pointy brush to highlight the inner corner of your eye. 

Step 3-

Use a rust colored pencil to line your top and bottom lash lines, then use black on your waterline, apply mascara, and done!


Look#4:
Step 1-

Take a light shimmery pinky-beige. Apply it to your lids, extending it into the inner corner, a bit down towards the bottom lids.

Step 2-

Take a dark matte chocolate brown and apply it to your outer corners. Don’t worry if it looks harsh now.

Step 3-

Use a blending brush to soften the brown and slowly form a gradient between it and the lighter shade.

Step 4-
Once again, don’t forget mascara and liner!


Look#5:
Step 1-

Take a matte white and apply it on your lids.


Step 2-

Using a thin angled brush, use black eye shadow to line your bottom lash line. Using an eye shadow (like the one included in the palette) will keep the bottom from contrasting too much. Just make sure it isn’t one with a lot of fall-out.


Step 3-

Blend a fawn color into your crease. This will add warmth. And if you haven’t guessed the final step, go ahead and apply mascara and liner. ;)


Enjoy!